To import a Structural model from CIS/2
-
Select CIS/2 Import from the backstage.
The Choose CIS/2 dialog appears prompting you to browse and select a CIS/2 file to import.
-
Select the CIS/2 file you want to import, and click
Open.
The CIS/2 Import dialog opens.
- In the Mapping section of the dialog, use the drop downs for Family and Part to map the incoming Structural members to OpenBuildings Designer part definitions.
-
Continuing with
Mapping settings, click
to map the
incoming sections to OpenBuildings Designer section definitions.
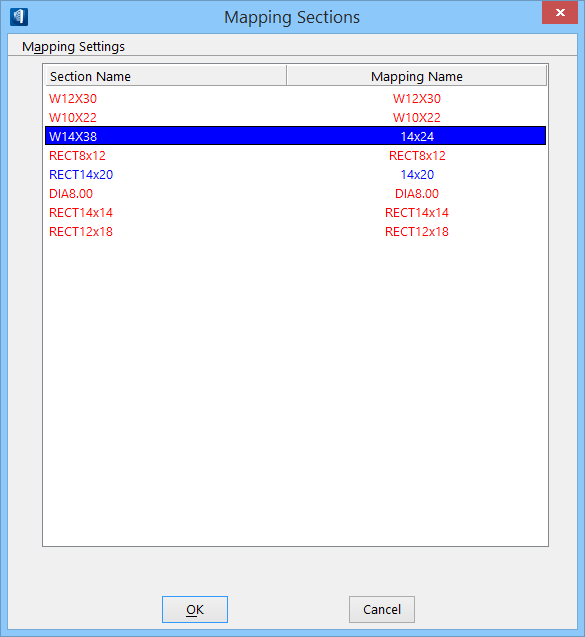
The Mapping Sections dialog opens. The Mapping Sections dialog lists all the incoming sections and any corresponding OpenBuildings Designer sections that are an exact match. If there is no exact match, then the sections are displayed in a red color.
- Use the controls Select Map Name and Rename right click options on the Mapping Sections dialog to map the incoming sections. When all the sections are color coded in blue, meaning they are mapped, you are ready to continue.
-
Click
OK to accept the mappings.
The Mapping Sections dialog closes.
- Click OK (in the CIS/2 Import dialog) to complete importing the CIS/2 file.